The Basutoland Rebellion of 1880-1881
South Africa and the years of chaos
On the 4th July 1879 the Zulu Empire was crushed at the Battle of Ulundi with thousands of Cetshwayo’s soldiers lying dead or wounded on the field of battle after being subjected to overwhelming British rifle and artillery fire; hundreds more would be thrown to the wind by a cavalry charge led by 17th Lancers that scoured the Mahlabantini plain for any fleeing Zulu. After a triumphal entrance into Ulundi, the Royal Karaal was torched, avenging Isandlwana. But British prestige and hegemony over Southern Africa was still yet to be restored, and over the coming years there would be several native rebellions that would drive the colonial Cape government to the brink of collapse.
The seemingly unstoppable rise of the Zulu empire had led to a proliferation of rifles among other Bantu tribes in South Africa who had either been armed by the government or armed themselves for defence against the rapacious Zulu. The outbreak of the Anglo-Zulu war had accelerated this as modern weapons were handed out to native levies with the aim of making them more effective soldiers. The Basuto were the most militarised tribe and were equipped with modern breach loading rifles, but more importantly they had adapted their way of war and fought mostly as mounted infantry.
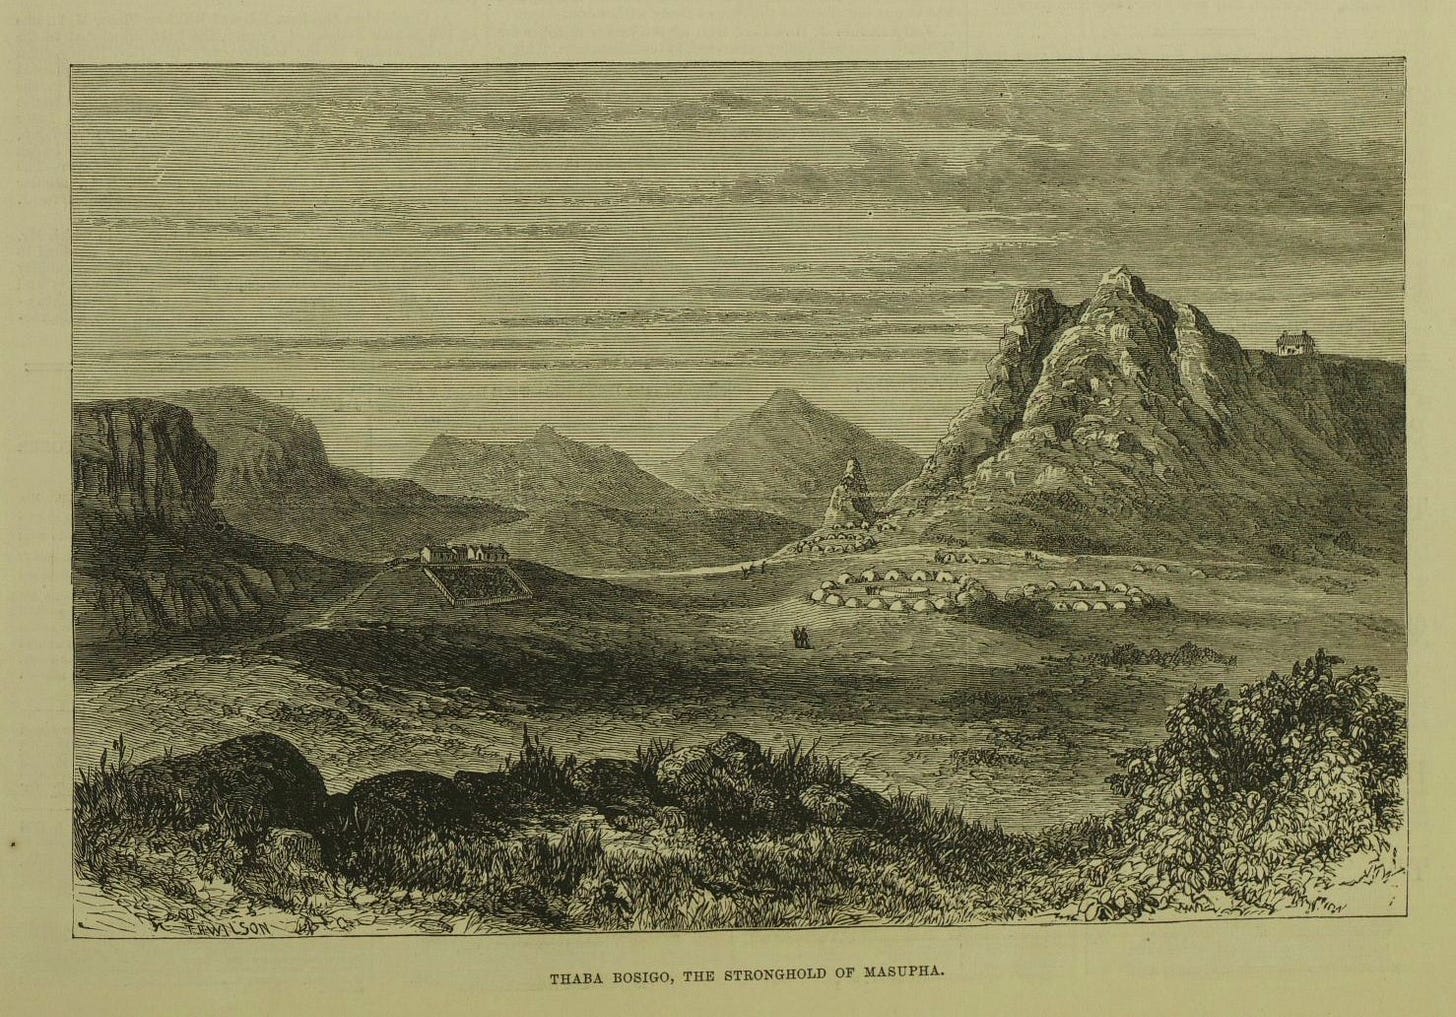
The Basutoland Rebellion, or Basuto Gun War, started when British control in South Africa was at its weakest. The annexation of the Transvaal in 1877, smaller wars against the Gaikas, Galeks and Sekukuni from 1878-1879, compounded with the defeat at Isandlwana and the eventual subjugation of the Zulu, left Imperial and colonial forces vastly overstretched as the decade came to a close. The situation was so perilous that Imperial authorities stated that they would be unable to provide any assistance if war broke out with the Basuto. The Basuto are a Bantu tribe that inhabit modern-day Lesotho. Basutoland had been declared a British protectorate in 1868, after the Basuto ruler, Moshoeshoe, had petitioned Queen Victoria, in the face of encroachment by the Boers during a series of wars known as the Free State-Basuto Wars. A British administration was set up on the Maseru, the Basuto capital, to deal with foreign affairs and defence, while internal administration was left to the Basuto.
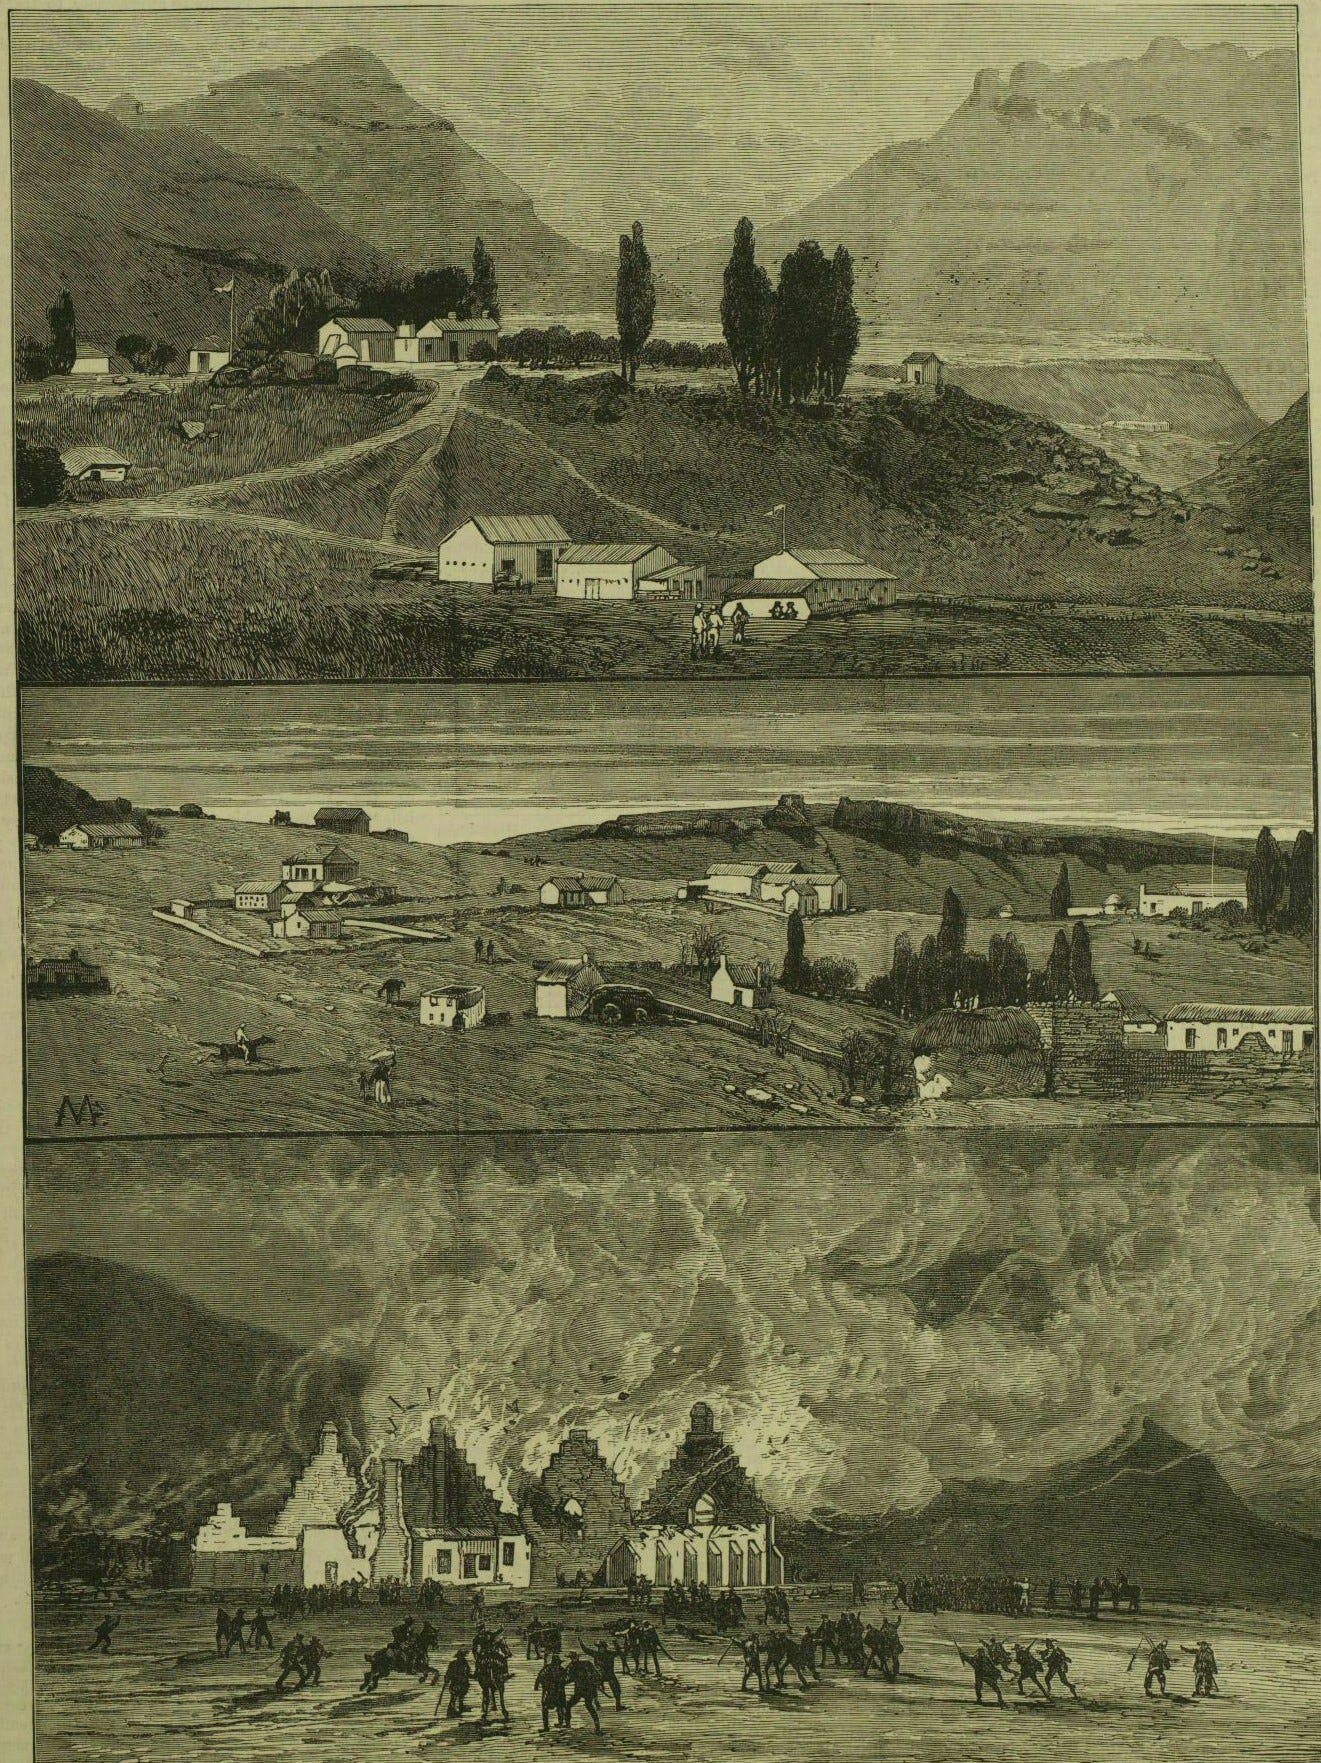
The main cause of rebellion was the attempt by the Cape Colony government to disarm the Basuto. When attempts were made to enforce the disarmament law, the insurrection began with a string of isolated magistrate posts being destroyed with the British residency in Mafeteng town being besieged.
Almost all the fighting taking place in Mafeteng district. In early September 1880, Lieutenant Colonel Fredrick Carrington crossed into Basutoland to reinforce the magistrate within Mafeteng town. Carrington crossed the border the border near Wepner on the 13th of September, 10 miles from Mafeteng, with 200 men of the Cape Mounted Rifles. They reached the town after fending off a 300-strong Basuto raiding party, but after a series of escalating running gun battles and raids the town was again effectively besieged. On the 17th, a 1,200 strong Basuto forced raided a village held by a small British detachment on the outskirts of Mafeteng. The village was captured at the cost of 100 dead and wounded tribesmen, and in response the British launched attacks across the Maseru, Mafeteng, and Mohali’s Hoek. It was clear the whole Cape military would have to be mobilised, and a 2000 strong force was assembled which included 1,200 mounted troops, 700 infantry and five artillery pieces as well as a handful of other native levies and scouts. Contingents of Boer volunteers, or Burghers, from the Cape were attached to the column. Other British detachments were garrisoned in the towns of Maseru and Thloste under the command of Lieutenant Colonel Bayley further to the North. They served to occupy significant numbers of Basuto that would have otherwise been used against Carrington’s force. There was limited fighting on this front, with most actions being small scale patrols to ensure the heights around the towns remained in British hands.
The war drained the Cape of all its best regular and volunteer mounted units, meaning that when the fighting started in the Transvaal towards the end of 1880, the Natal Field Force would have a fatal deficiency in cavalry. Carrington’s foe was Basuto chief Lerothodi, who had marshalled at least 9,000 men in the Madeteng area. All of Lerothodi’s men were mounted and armed with modern rifles, but from across his tribal domain he could call upon another 14,000 men. Besides previous donations from government armouries the Basuto acquired modern rifles while working in railways and diamond mines across Griqualand making themselves the best armed tribe in the whole of Southern Africa.
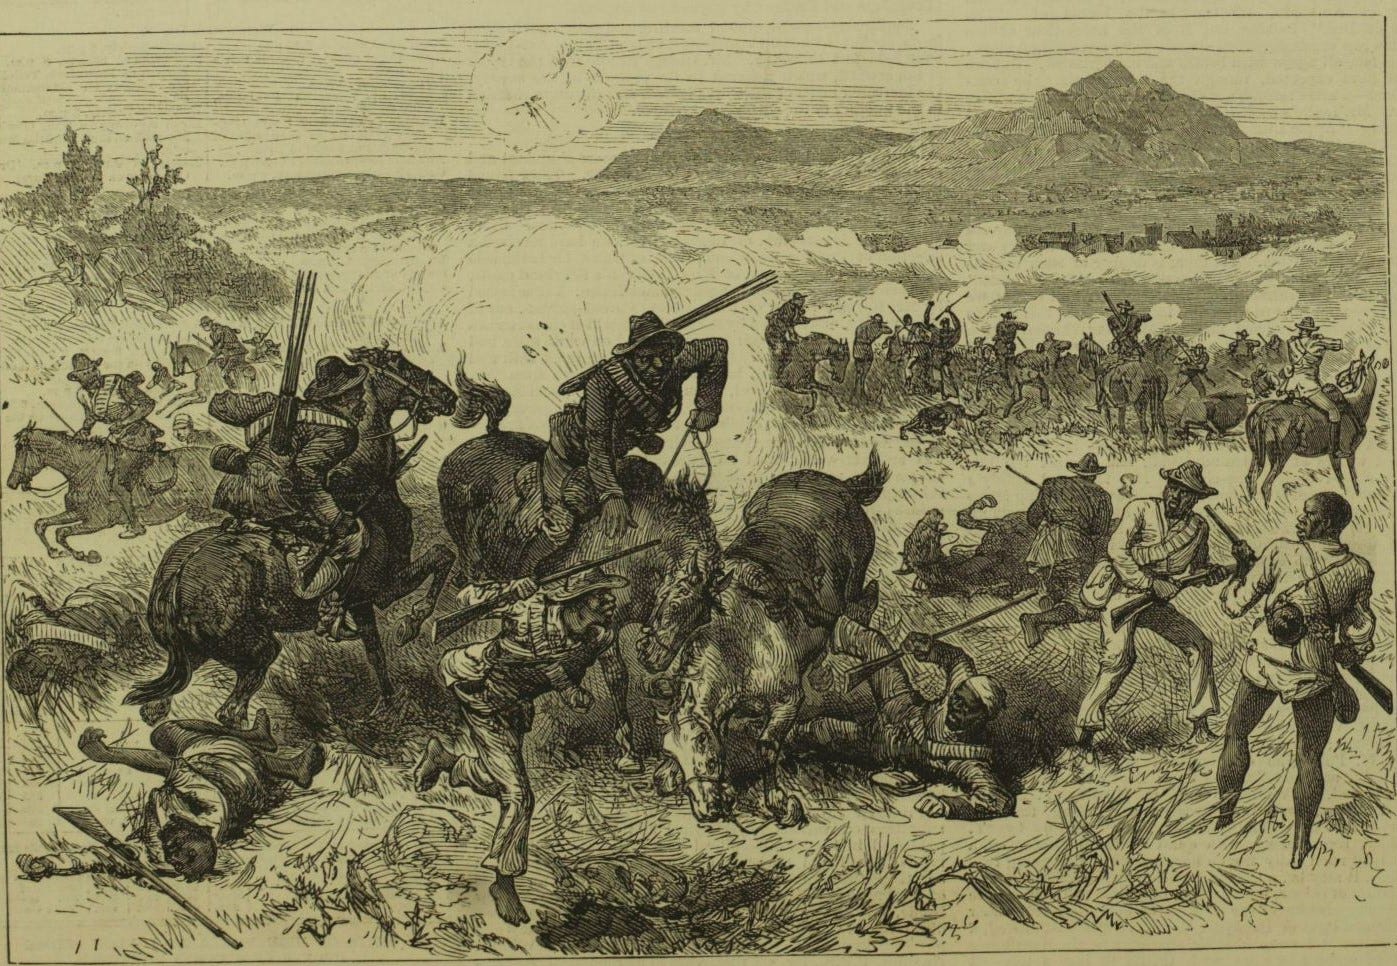
On the 19th of October Brigadier General Charles Clarke arrived at Wepener with 1,600 men and began his attempt to reach Mafeteng. The main obstacle facing him was the imposing Kalabani Kop, which was occupied by an estimated 3000 Basuto riders. When the British column’s vanguard of 100 men from the 1st Regiment Cape Mounted Yeomanry advanced towards the ridge they came under rifle fire. Pinned down, the rest of the 1st under Captain Dalgety was dispatched around the left of the Kop to clear the summit but as they dismounted they were charged by hundreds of tribal cavalry and their advance was halted. The 2nd Regiment of the Yeomanry was ordered to restore the attack’s momentum, they captured a village near the base of the Kop and then advanced up the up the hill in skirmish order until the summit was stormed. The road had been cleared but at a heavy cost in terms of men and morale: 40 Basuto were killed for 39 men of the Yeomanry either dead or wounded. The rest of year was spent clearing the hills around Mafeteng of Basuto to secure lines of communication and supply; although Carrington was able to make a small advance to Morija in November.
Troops would continue to arrive in this disturbed area of the Cape Colony and by the 29th of November 12,800 troops, including 8,000 Europeans, were either engaged in combat operations or were on route to the provinces.
“Present position critical. All Basutos on east side of Drakensberg and both sections Pondomese tribe under Umhlonhlo and Umgitshwa have joined rebellion. Griquas in Griqualand East and Bacas have not joined. Umquiliso Pondo Chief very doubtful. Umquikela paramount Chief shows signs either way. Gungelizwa paramount Chief Timbuland professes loyalty, but many of minor chiefs under him in open Rebellion. Countr between Kei and Bashee, magistrates at Isola and Gatberg in imminent danger. Colonial Government raising irregular corps to meet this emergency, numbering 500, and 3500 Burghers. Clarke gone to Wepner and returned to Wepner with 10 wagons unopposed. Leribe district of Basutoland unsettled, but no fighting yet.”
A Telegram to London from Cape Town describing the severity of the situation
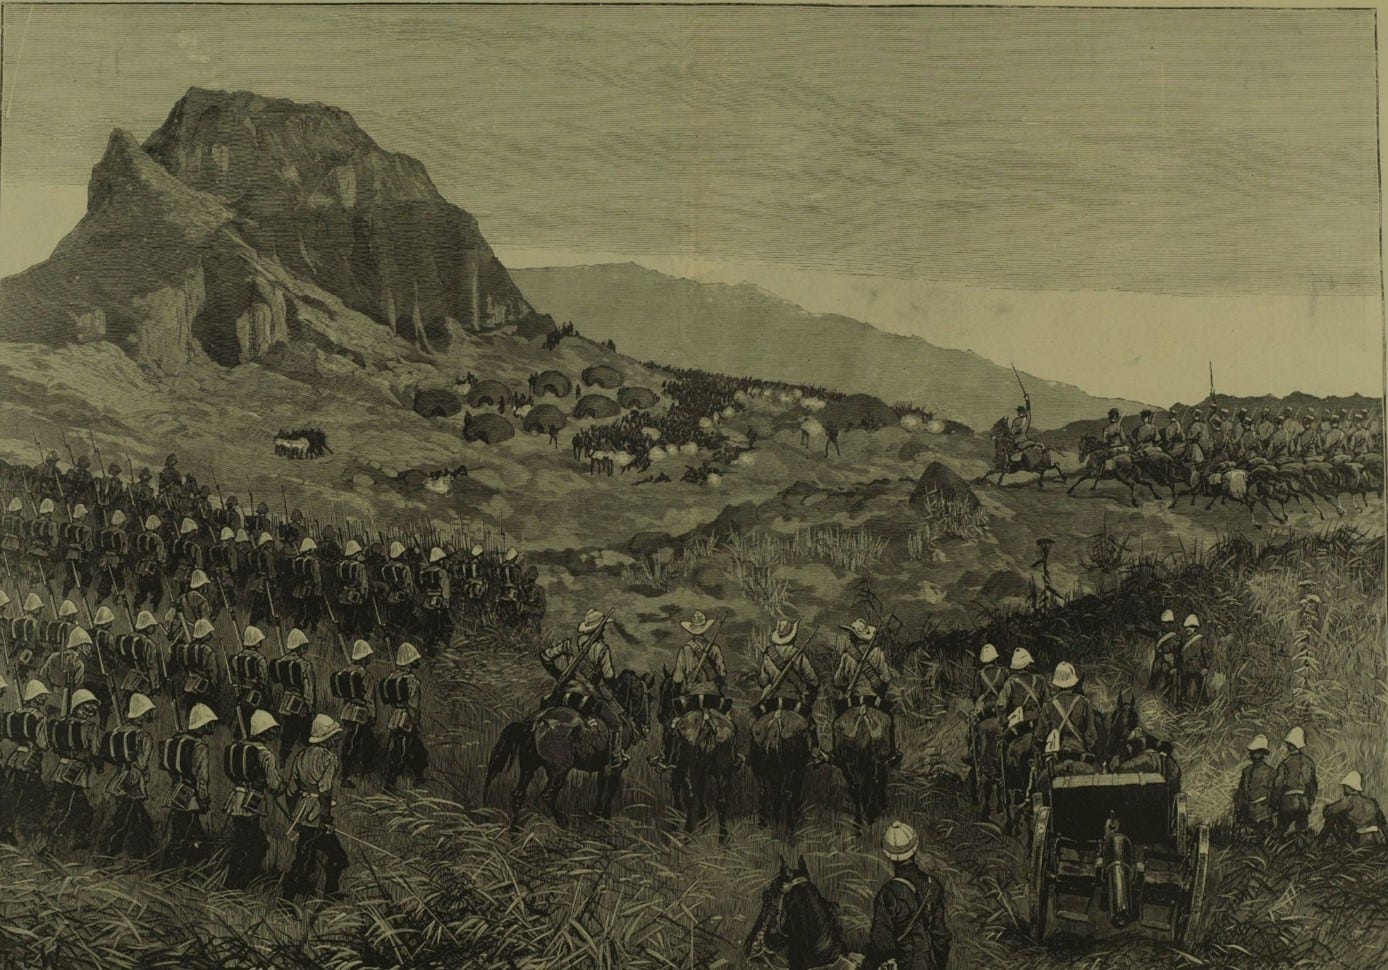
The next major round of fighting began on the 14th of January when Carrington led a 1000-strong force supported by two 7-pounders, and including 400 Burghers, toward Thaba Tseue. After marching through boggy terrain they reached Sepechele village. The Boer were ordered to attack Radiamari village, which they successfully stormed and put to the torch. Disobeying orders, they pressed on with the attack, but by this point the weather had turned and a heavy rain and dense mist cloaked the field. As a result, they did not see the two thousand Basuto that had been sent to attack. The Burghers were forced to retreat to the main British line. The Basuto charge was broken by rifle fire, but this signalled the rest of the native army to start firing from positions in the broken ground across the whole front. In response, 140 soldiers of the Yeomanry attempted a charge to drive the tribesmen back, but they could not advance under the heavy fire and were forced to fight dismounted. After a five-hour gun battle, where the average expenditure of ammunitions was 66 rounds per man and the two artillery pieces had fired 84 shells between them, the British were able to defeat the Basuto and clear the road to Ramakhoasti at the cost of 51 men dead and wounded.
By January the Cape was reaching its breaking point, as it struggled to suppress the Transkeian Rebellion the had started in neighbouring Bechuanaland, while at the same time as dealing with the political fallout of severe setbacks for the British army in attempting to crush the Boer in Transvaal. The cost alone of paying for these wars was becoming untenable, with expenditure reaching the huge sum of £3 million pounds. Fears about the loyalty of the Boers living in the Cape had become so great that no new Burgher volunteers were allowed to join any of the armies fighting native uprisings. Pressure to end these wars was mounting on the Cape prime minister Gordon Sprigg to end the war, even by political means if necessary. Sprigg was harshly criticised in the press at the time for waging what was deemed a wasteful war that imperilled broader colonial interests. Garnet Wolseley was equally critical of the Cape government’s policy, because he saw little point in confiscating the rifles of tribes that had been supportive of the British during the Zulu wars. This broader strategic situation had very little impact on Carrington, however, who was planning his next operation.
On the 14th of February Carrington captured Ramakhoasti ridge, which controlled the main road to Morija. The settlement of Ramibidikwa was the next objective. A column of 500 men under the command of Captain Giles set out to find a suitable path towards the settlement. The force crossed a spruit below the camp but almost immediately a great mob of Basuto descended on them. The British forces had just minutes to form a square and repel the onslaught. After letting loose four volleys, killing or wounding 138 men, Carrington’s men marched steadily forward till night fell. Carrington then moved the main camp to the site of the battle 12 miles away from Morija, but by then men and resources were being diverted to other fronts, and on the 22nd of March he was badly wounded near the camp. The last action of the war was fought on the 11th of April when Clarke captured Boleka Ridge. On the 28th of April a war weary Cape Government agreed to an armistice: they no longer had the men or cash to continue the war.
Sprigg’s decision to disarm the Basuto was entirely correct as he was upholding the law of his government; however attempting to do it just as British prestige and power had reached their lowest ebb, after Isandlwana, was foolhardy. Sprigg had little support from figures in the army who saw no good reason in aggravating these seemingly compliant tribes while London wanted an end to these costly wars. This war also exposed several failings with the colonial military in the Cape, from its overreliance on short-term volunteers to its inability to mobilise sufficient numbers of troops to supress the Basuto. The British were unable to get to grips with and defeat an enemy that fought as mounted infantry and were armed with modern rifles. The Gun War marked a great period of uncertainty for British rule that never truly went away. Beset by numerous small biting threats, the colossus would find precious little peace in the decades to come.


Why don’t you come back to Twitter PHR?